
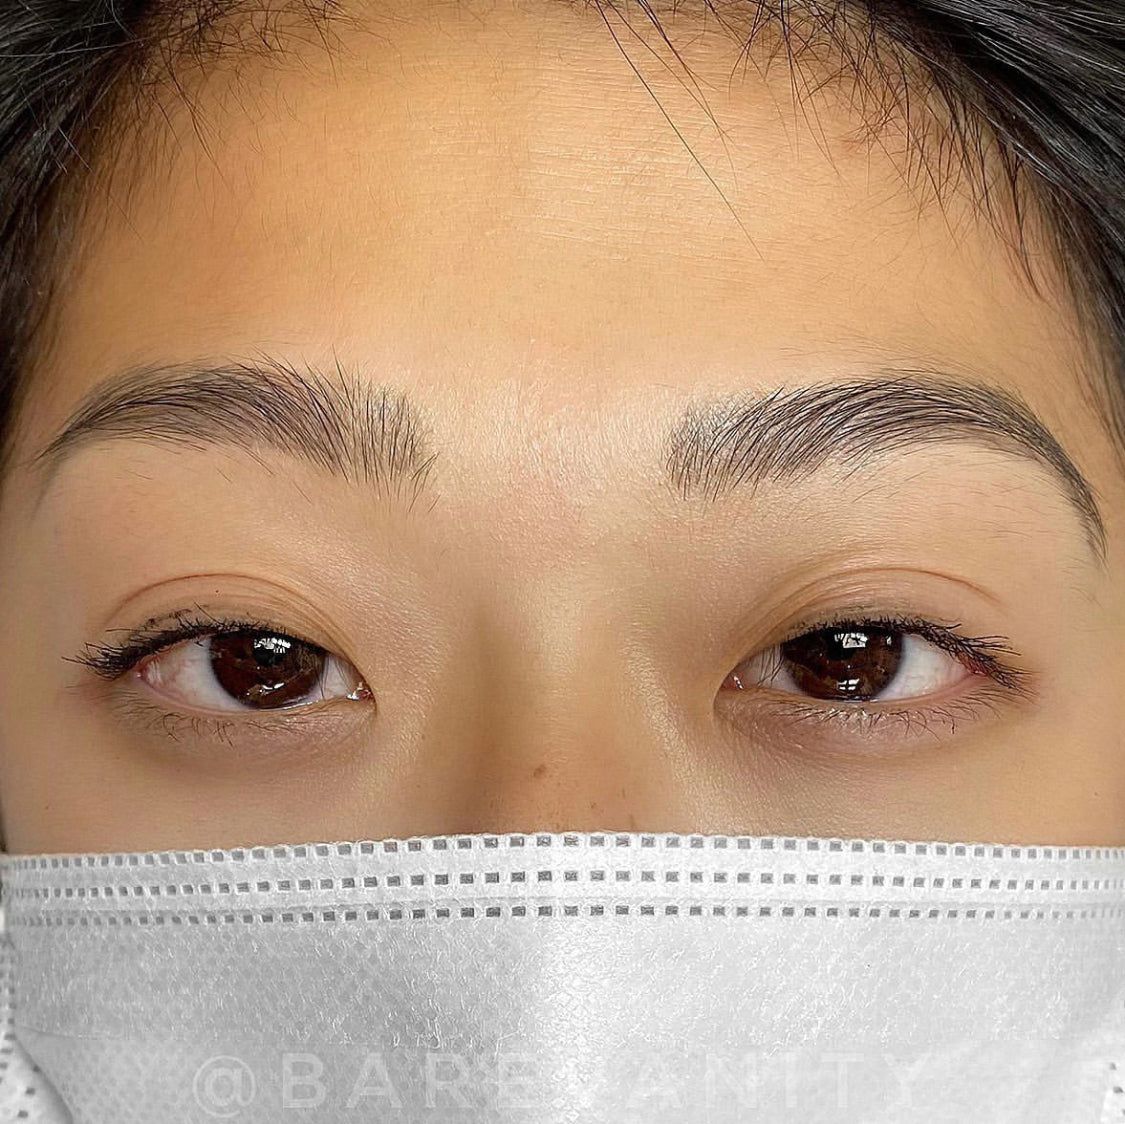
Let's talk BROW OUTLINES by Amanda Grebinsky
You may have mastered brow mapping, but there is another crucial step between that and beginning to ink. Amanda Grebinsky shares her techniques for creating outlines that best suit your client.
How to decide which outline is best suited for your client
After completing your brow map, you will then need to decide what type of outline you need to create to begin the foundation of your client's new brow. A few determining factors include: What look are they trying to achieve? Are their brows symmetrical?
Determining these factors before beginning the procedure are crucial. Here are the reasons you may want to consider these things first.
What look are they trying to achieve?
Is your client looking for a light natural looking brow?
Or are they looking for a more solid look?
If they are looking for something that will heal more naturally, then selecting a softer technique would be more suitable, and the reverse would be said about the client wanting something a little bolder. A darker, more saturated outline is something you would choose in that situation.
Are their brows symmetrical?
The reason we want you to identify this point, would be because when you are mapping the brow area, trying to achieve perfect symmetry, your new shape might leave large gaps in the skin where there is no hair. This can then become a problem as it can be very hard to create the illusion of true density in those areas at the end of the procedure. In that situation you would want to make sure to choose a technique that would in turn be able to properly blend the open skin area with the rest of the brow.
Most commonly, artists tend to lean towards the microblading procedure in this case as they think that recreating hair strokes will help blend these areas most effectively, and in my opinion this is not always the case. I prefer to do a very light, soft airy brow that will blend open spaces in the skin by way of pixels. The gradient in the pixel will help camouflage where needed.
My two favourite outline techniques:
Solid outline (This is just the term, you will still be very light handed)
Pointillism
How to execute these techniques:
Solid Outline: With this technique you are going to insert the VERY TIP of the needle (The most tapered part + smallest diameter) into the skin starting at the tail. In a forward and back motion (keeping the needle in the skin) you will create a straight line all the way to the head of the brow. You must ensure that you work very lightly so that you do not create an unrealistic appearance. This would result in the beginning of a darker more saturated powder brow outline.
Pointillism: With this technique you are going to insert the needle starting at the tail of the brow working towards the head in an "In and out motion" removing the needle in and out to create a very soft pixelated effect. You must make sure you are only inserting the VERY TIP of the needle. If you end up applying too much pressure this will result in a "Polka Dot'' appearance in the skin. This technique would then be the beginning of a very light, soft and airy brow.
Check out Amanda’s work @boujeebrows and a brief guide to brow mapping here!
Read more
Creating a Calm Space For Your Clients by Heidi Nymark
Creating a calming space for all the senses helps clients feel more at ease in your studio.
Importance of Infection Control in PMU by Grace Kang
If you were to be tattooed by yourself, would you feel 100% confident and safe? If your answer is “No”, it is time for you to step up in your infection control game!
Leave a comment
This site is protected by hCaptcha and the hCaptcha Privacy Policy and Terms of Service apply.